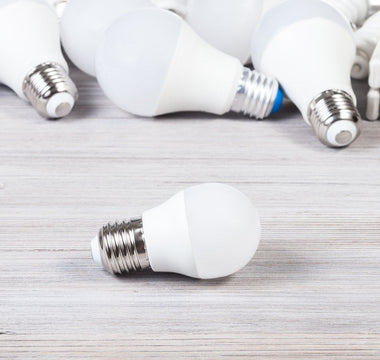
Using a smart bulb starts with a compatible fitting and the setup instructions for the exact model. After pairing, keep everyday controls simple: choose useful brightness, organise the room and test a small routine before adding more automation.
Fit and pair the correct model
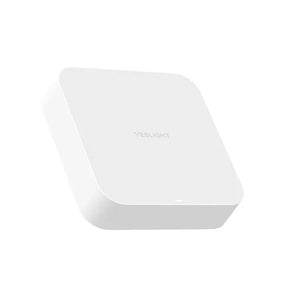
With power safely off, confirm the base, supply rating and fitting requirements before installation. Use the app and network or gateway method specified for the bulb. Do not follow a reset sequence from a different model, and do not assume a bulb that looks similar uses the same connection technology. Keep any required controller powered and reachable.
Make controls understandable
Give lights clear room names and test individual operation before making groups. Set brightness and, where supported, white tone or colour for the activity. A wall switch that removes power also removes the bulb’s ability to receive commands. Agree on how the room will be used so visitors are not expected to guess an unfamiliar app arrangement.
Build routines gradually
Begin with one schedule or scene and check that it behaves as intended in the real room. Confirm what happens after a power interruption and whether the routine depends on a phone, gateway or online service. Voice integration, dimmer compatibility and platform sharing are separate requirements; do not assume that successful app pairing proves all three.
Related choices and guides
Frequently asked questions
Why can’t the app reach a bulb switched off at the wall?
The bulb needs electrical power to receive commands; app-off and cutting the supply are different states.
Can I copy another bulb’s pairing or reset procedure?
Use the exact model’s instructions. Similar names do not establish identical setup steps.